
DIY Crappie Guide
Posted by David Ewald on 6th Feb 2024
Crappie often suspend beside upright cover, so height, spacing and placement matter more than packing a structure with the greatest possible number of pieces. A useful DIY crappie structure combines vertical reclaimed PVC, a stable cement base and open lanes that fish can move through.
Why vertical structure works for crappie
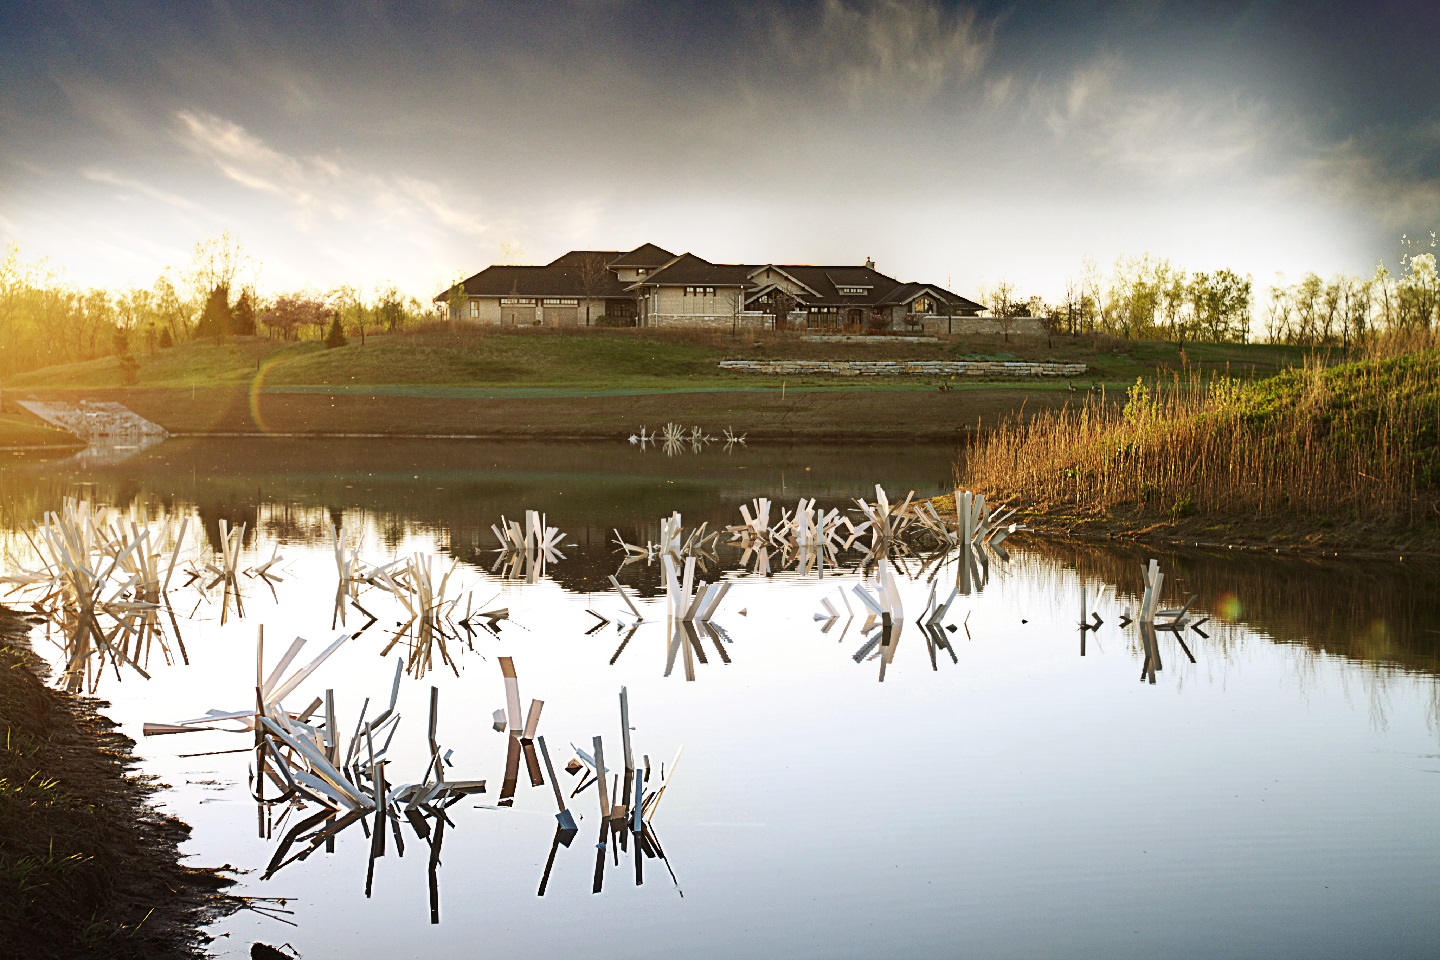
Crappie move through the water column as light, temperature, oxygen and prey conditions change. Vertical structure gives them usable cover at several heights without forcing the whole school to stay close to the bottom. Open outside lanes give adult fish room to hold and feed. Tighter material inside or beside the structure protects minnows and young fish.
A productive crappie site combines both jobs: vertical edges for adult fish and denser refuge nearby for smaller life. One isolated object can attract fish, but a connected cluster creates more shade, feeding surface and travel edges.
Choose the structure before buying materials
Stake beds use mostly upright pieces and fit crappie well. PVC trees spread limbs from a central base and create a taller single target. Cinder-block and bucket builds are easy to assemble with common materials. Mats spread cover across the bottom and can combine upright stakes with finer reclaimed PVC.
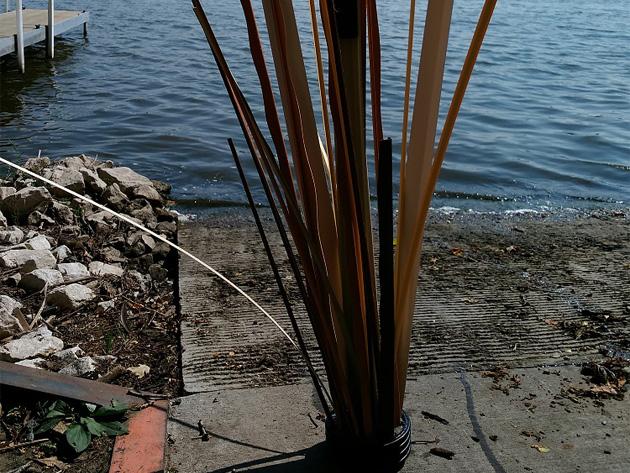
Materials for a DIY PVC crappie structure
Use clean reclaimed PVC in several widths and stiffness levels. Add a base that will stay stable underwater, such as a cement-filled bucket, cinder block, barrel section or suitable habitat mat. Mortar mix works well for filling cavities because the sand-and-cement blend sets around the inserted material.
Useful supplies include:
- Clean reclaimed PVC stakes, strips or pipe
- A bucket, cinder block, pipe section or suitable habitat mat
- Mortar mix
- Cardboard
- Gloves
- A temporary support such as a tomato cage, bench or railing
Avoid exposed wire, sharp metal and loose hardware that can snag fishing line or create unnecessary hazards.
How to build the base
Set an open block, bucket or pipe section on cardboard before adding wet mortar. The cardboard helps hold the mix while it begins to set. Fill the base enough to hold the structure upright without making it harder to handle than necessary.
Place a tomato cage upside down over the base or use a bench or railing as temporary support. Insert the longest vertical pieces first, then add shorter pieces at varied angles. Leave open lanes around the outside rather than forming a solid wall. Let the mortar cure fully before moving or placing the structure.
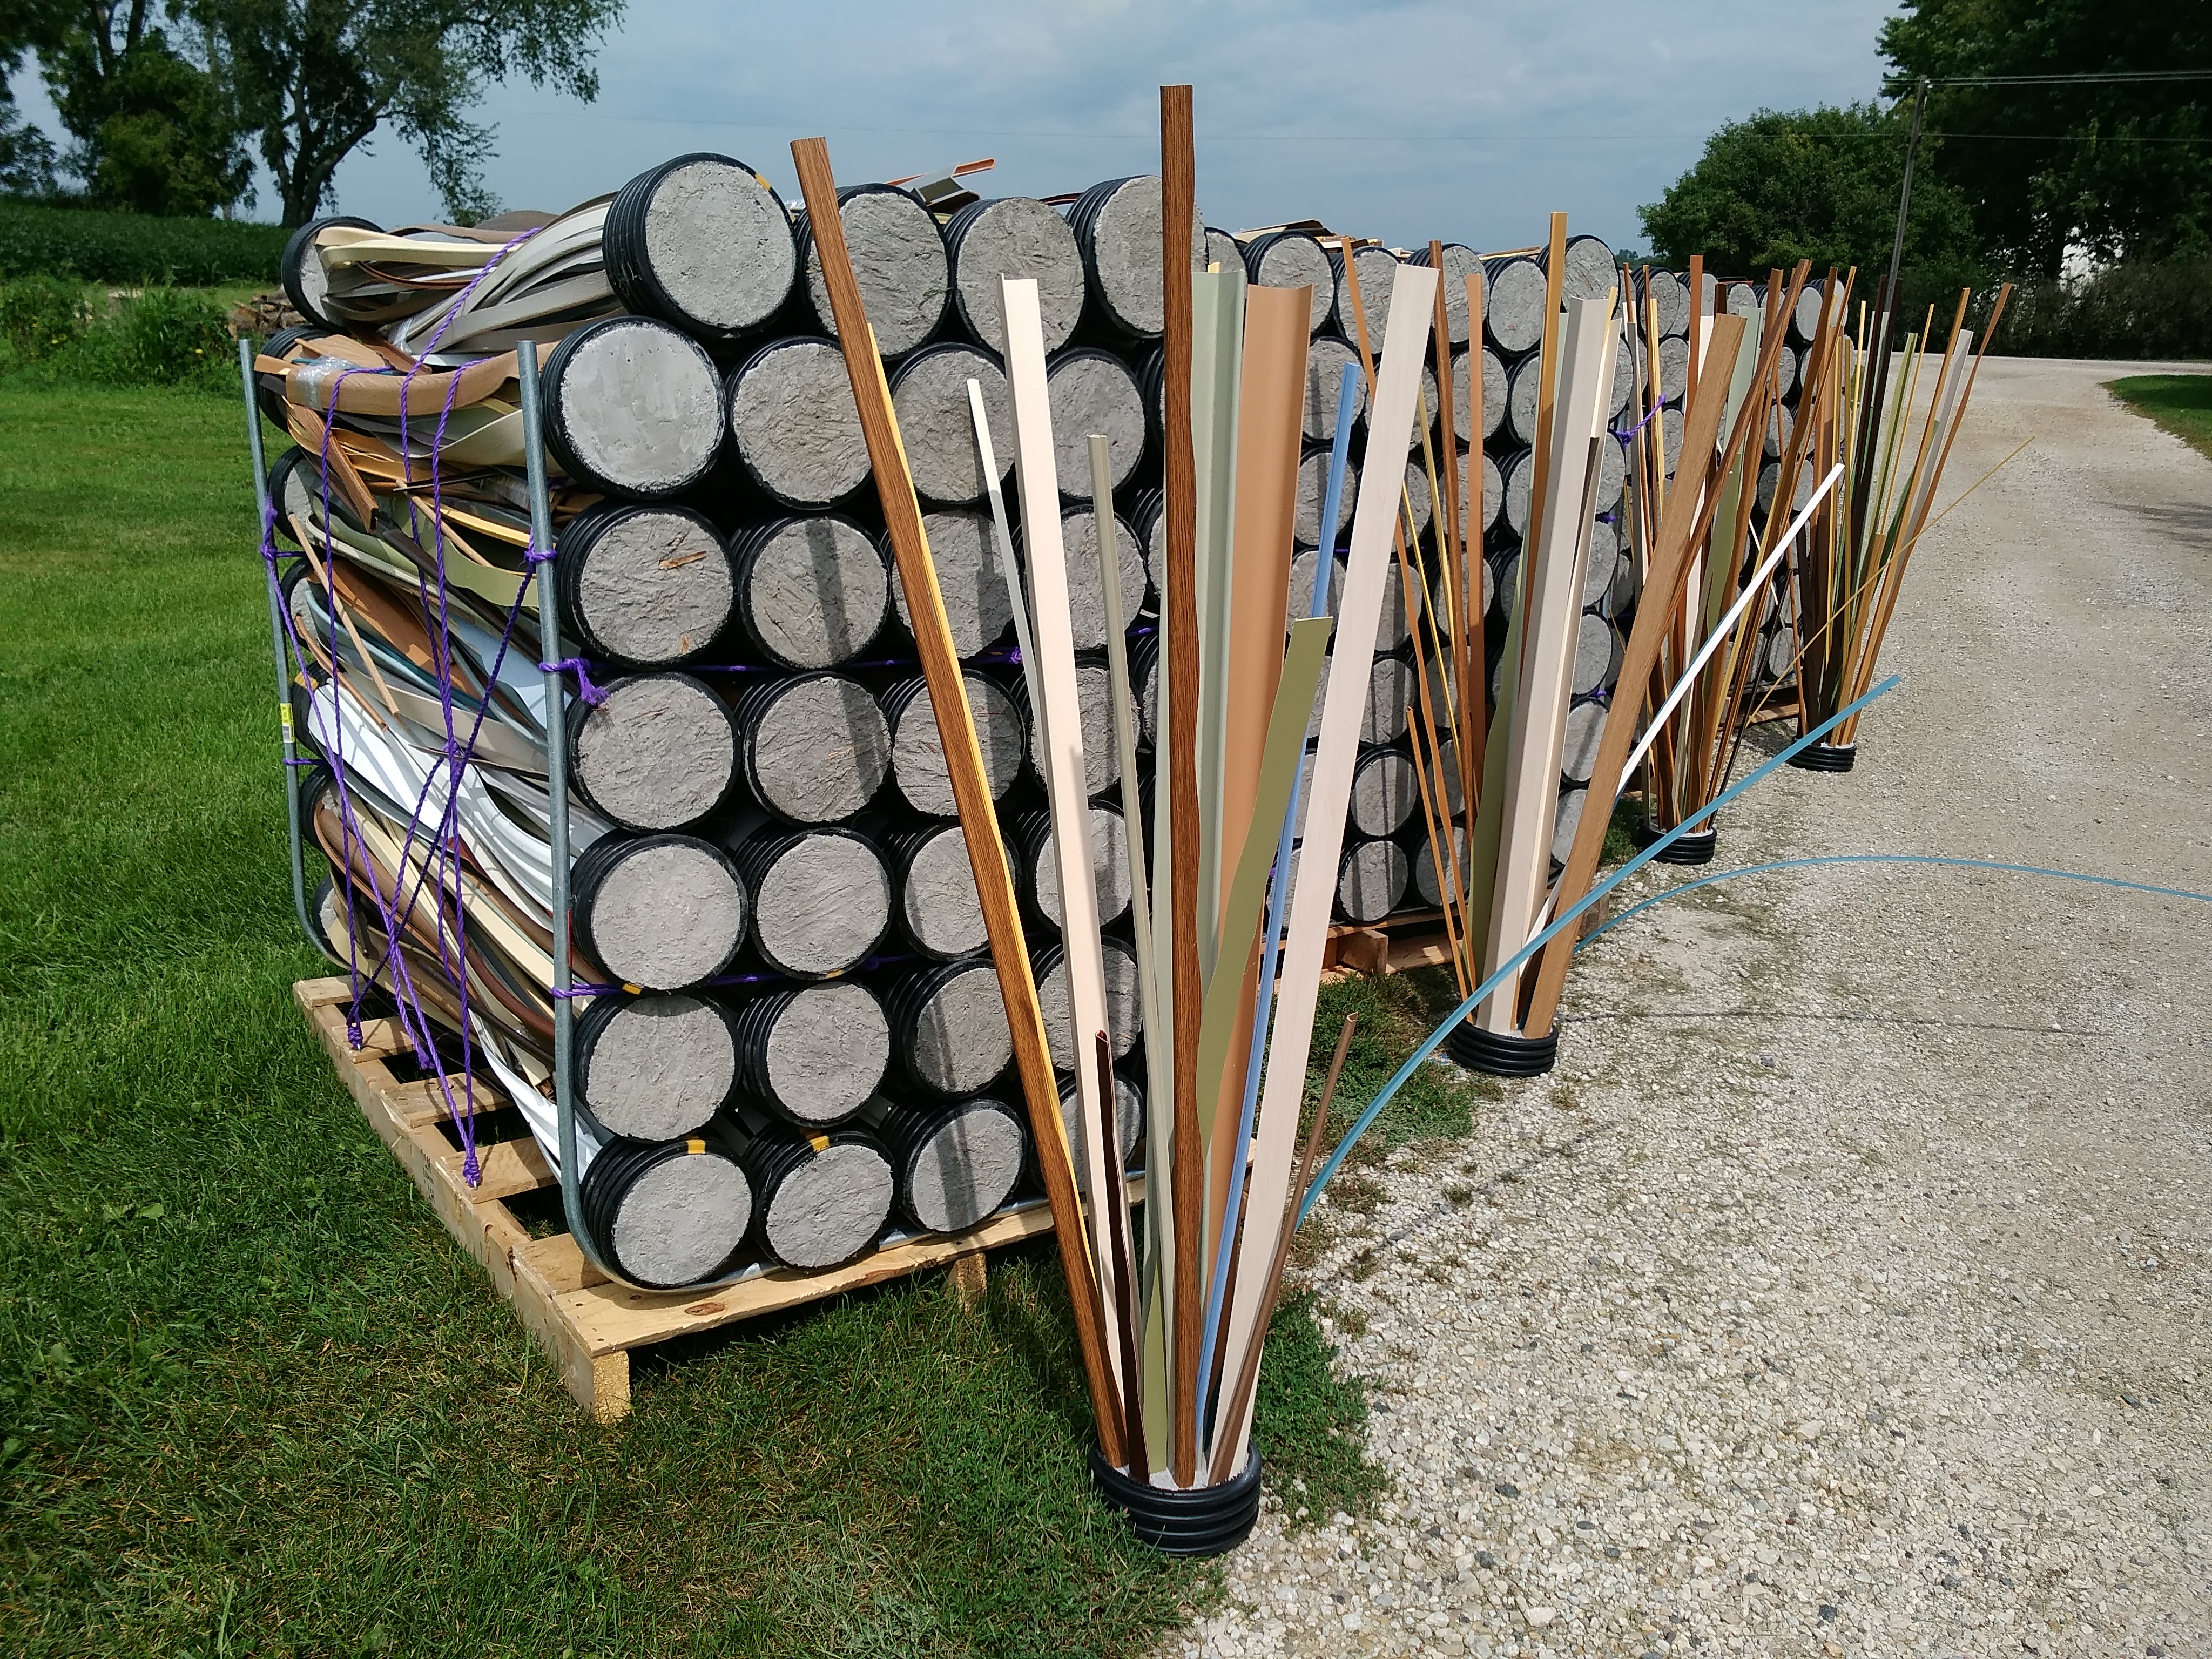
Create different opening sizes
Do not make every gap identical. Adult crappie need room to move around the outside and between vertical pieces. Minnows, fry and aquatic insects benefit from narrower spaces. Mix rigid upright stakes with some flexible pieces so the finished structure provides height, shade, surface area and refuge in one cluster.
Where to place crappie structure
Place structures where crappie already travel: near points, breaks, channels, the edge of existing vegetation and transitions between shallow and deeper water. A level or gently sloping bottom gives the base the best chance to remain upright. Avoid deep soft muck that can swallow much of the structure’s height.
Use several depths instead of placing every unit on one contour. Shallow cover can support spring movement and nursery areas. Mid-depth cover gives fish a transition route. Deeper vertical cover can hold suspended fish when oxygen is available. Account for seasonal water-level changes and keep the top safely below the lowest expected level.
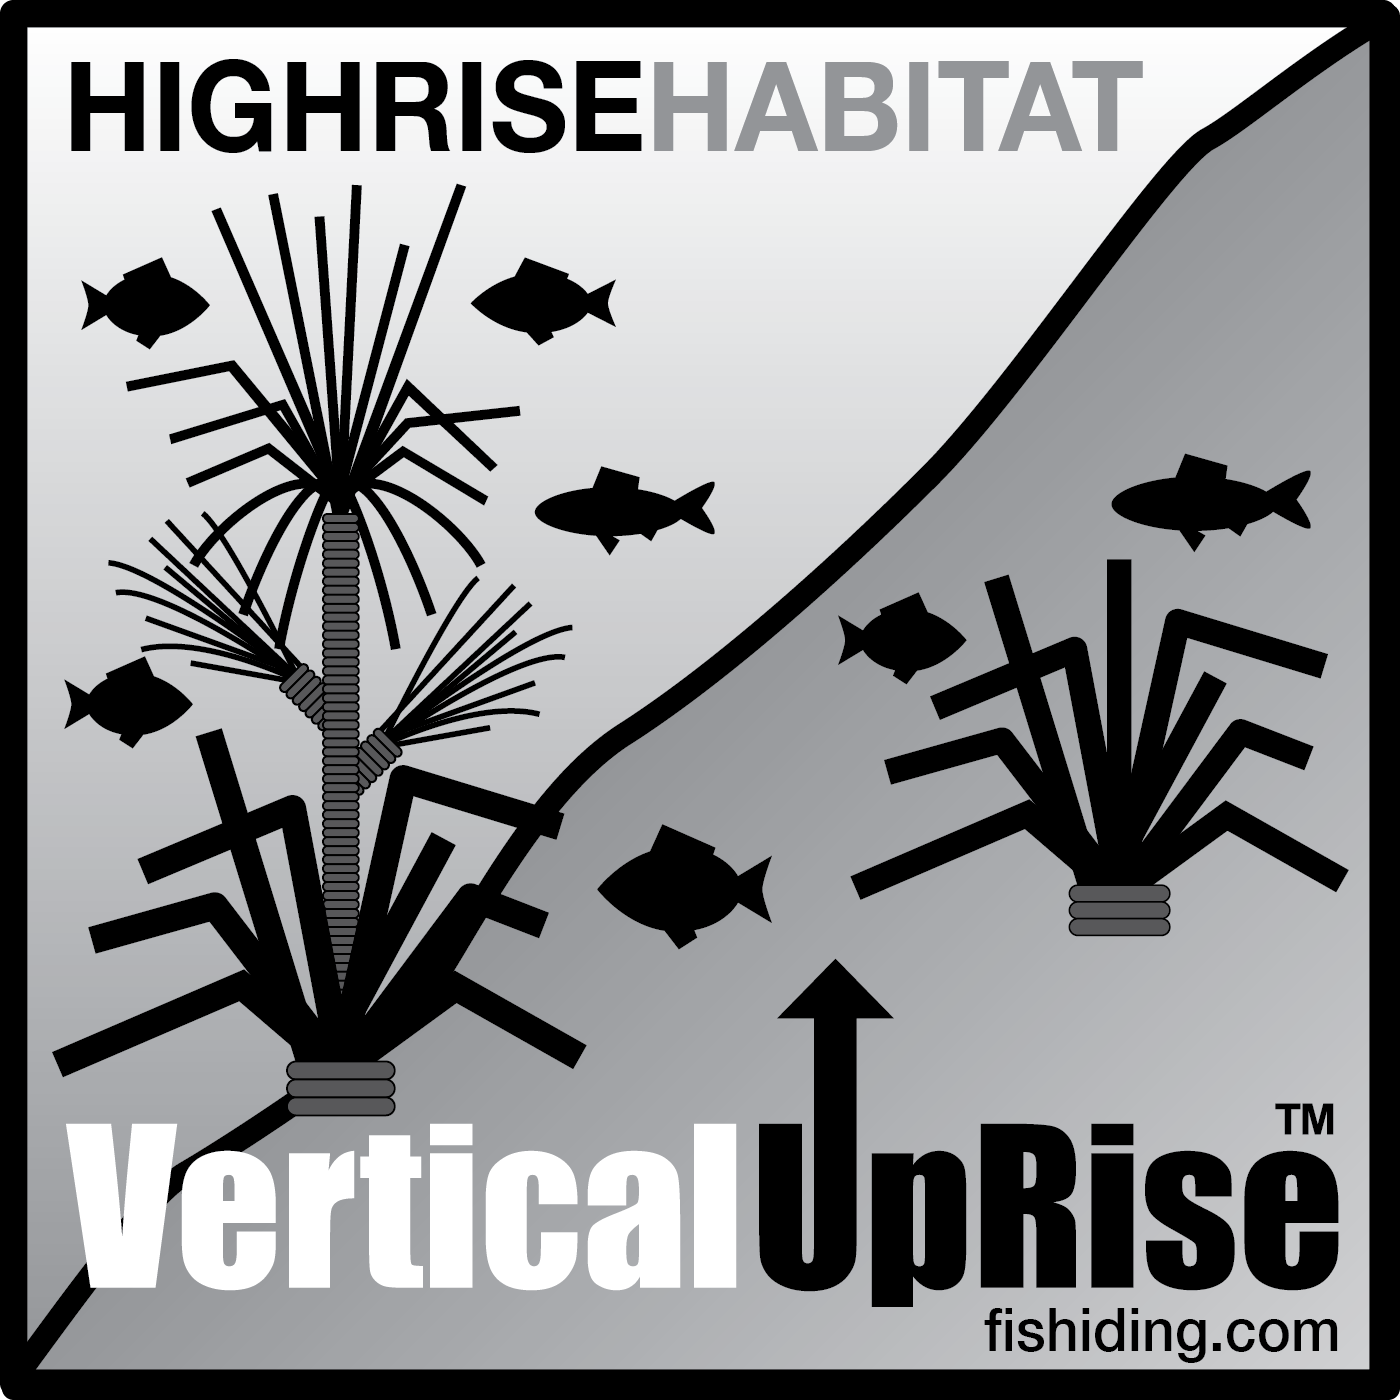
Build a cluster, not one lonely target
Three or more related pieces create a stronger habitat site than one widely separated object. Keep the pieces close enough that fish can move between them while preserving open casting lanes around the outside. Mark the location and depth so the site can be fished without dragging a lure through the center.
DIY versus finished habitat
A DIY structure gives you control over height, spacing and materials. It also requires a safe base, curing time and transport to the water.
A finished Fishiding Stakeout crappie stake bed is already self-weighted with cement built into the design and needs no added ballast or anchor. The right choice depends on whether you want the building project or a ready-to-place cluster.
For a materials-only project, Fishiding also offers a DIY crappie stake-bed pack with more than 200 reclaimed PVC stakes. Bases and mats are not included.

Common mistakes
Do not crowd every piece together, scatter single units too far apart or place tall structure where it can become a boating or swimming hazard. Do not assume the deepest water is best; confirm dissolved oxygen at the intended depth. Obtain permission before placing habitat in public or managed water.
Quick decision guide
Choose a stake bed when vertical cover is the priority. Choose a tree-style build when you want one tall target. Choose a mat when you want broader bottom coverage. Add finer reclaimed PVC near any of these options when the site also needs protected spaces for minnows and fry.
Browse Fishiding’s DIY artificial fish habitat materials when you want reclaimed PVC for a custom project.
Frequently asked questions
Do PVC crappie structures need anchors?
A homemade structure needs enough built-in base weight to remain stable. Finished Fishiding models include cement in the base and need no separate anchor.
How far apart should the stakes be?
Use mixed spacing. Keep open lanes for adult fish and tighter interior spaces for smaller fish and prey.
How many structures should be grouped together?
Start with at least three related pieces when space and local rules allow. A cluster creates more usable edge and interior refuge than one isolated unit.
Does the PVC need to be new?
No. Fishiding uses clean reclaimed PVC that was destined for landfills. Inspect any DIY material and avoid contaminated, brittle or sharp pieces.